This week on MyWoodlot.com, Kris Brown shares his first experience with setting up trail cameras on public land in the Catskills.
Deer season came to a close in New York’s southern zone on December 17, 2019, but there I was on New Year’s Day of 2020, walking a public land access trail with a climbing treestand on my back, a pack slung on my shoulder, and camouflage from head to toe. I was headed back up the hill for some post-season scouting and to install trail cameras for the first time.
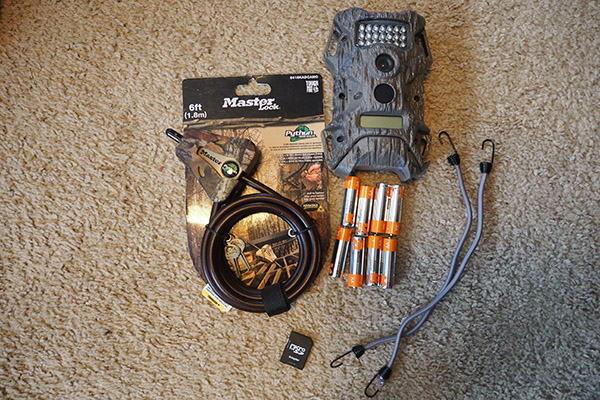
I took advantage of the Black Friday deals at Dick’s and purchased four, 14-MP Terra Extreme trail cameras for $35 apiece. It was a nice deal to get me started. The low price also means that if one gets stolen on public land, it is not a huge loss.
The cameras came with two bungee cords, but power (8 AA batteries) and memory (up to a 32-GB SD card) were not included. Battery life is reportedly up to 1 year or 30,000 images, but if you are running several cameras year-round, I would suggest buying in bulk. For example, I bought 100 AAs for $45 on Amazon.
I purchased 32-GB micro SD cards with adapters ($4/each) to make sure I have plenty of memory to leave the cameras for months in between photo/video downloads. Finally, I purchased four cable locks from Dick’s ($13/each) in hopes of deterring would-be thieves or vandals. All up, four trail cameras plus accessories cost me $253. Batteries should cost about $15/year to keep four cameras running.
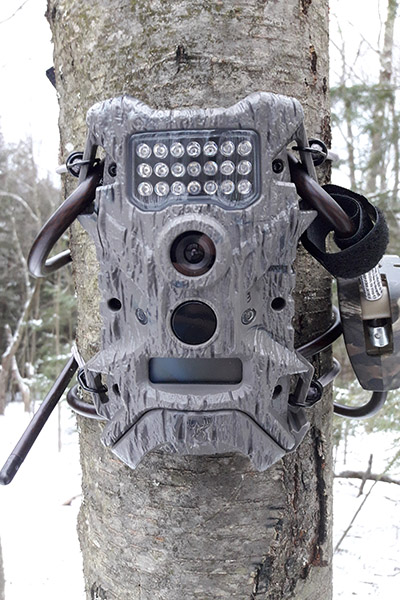
My trail camera set-up included an optional cable lock.
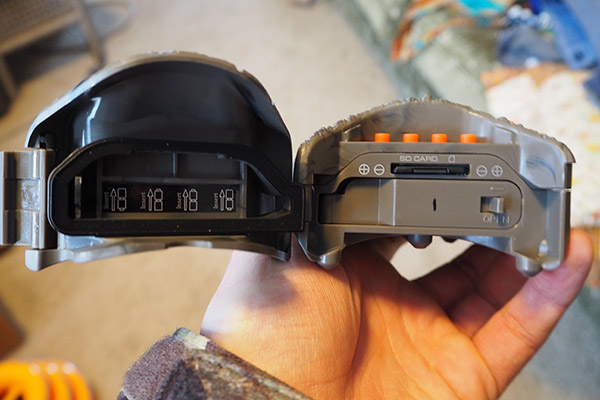
A look inside the camera where the SD card and batteries are installed.
So, what were my goals for setting out these cameras? In general, I felt they would complement boots-on-the-ground scouting and help me to pattern deer movements at different times of the year. Setting the cameras out in January is interesting because the hunting season just ended. For example, due to hunting pressure or changing food sources, deer may have moved on from the locations I had become accustomed to finding them in the fall. Also, perhaps I’ll be able to confirm that some of the bucks I saw in the fall survived the gun season. Lastly, I just think the trail camera concept is cool. I like the mystery of what might be on those cameras when I return to download photos for the first time.
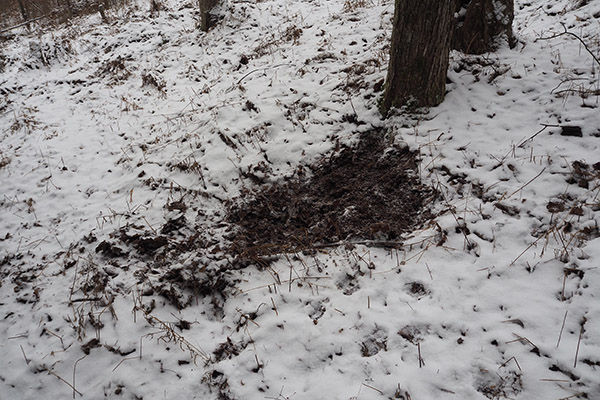
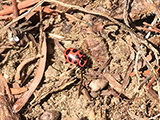
Some New Year’s Day deer sign in the snow
My strategy was to spread the cameras out across multiple woodlots, as opposed to heavily surveilling one property. However, I must admit that I agonized about the exact location I would place each camera. The cameras must be within 20 yards of a deer trail, which is the maximum range of the passive infrared sensor used to trigger photos. I tried to consider places I’ve known deer to travel (e.g. along habitat transitions, benches and ridges) and also about my ability to go in and check the cameras periodically without being detected.
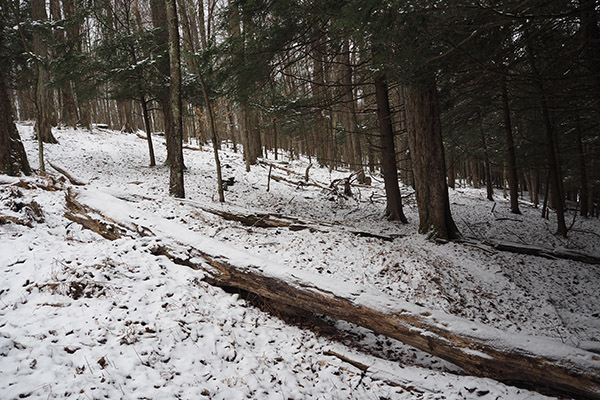
The edge of this hemlock stand represents a habitat transition. The change from hillslope to ridgetop represents a terrain transition. Therefore, I figured this would be a good place to get pictures of deer.
Once I decided where I wanted each camera, I had to pick trees that were large enough to accommodate my climbing stand yet small enough to avoid maxing out the bungee cord length. Roughly 7-inch diameter trees worked well for this as well as breaking up the camera’s outline. With the help of my climbing treestand, I installed the cameras roughly 10 feet off the ground to prevent tampering or theft. However, this makes it necessary to angle the camera slightly toward the ground to capture deer passing near the tree.
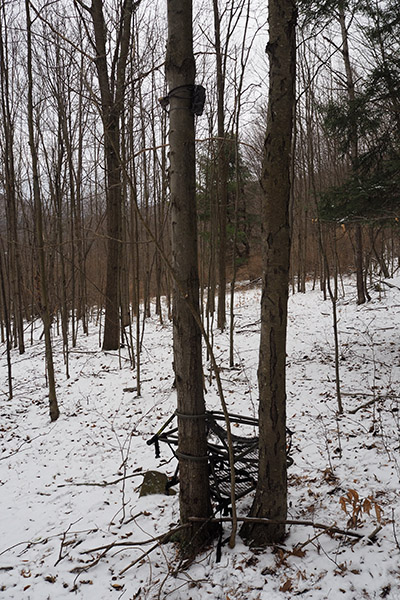
I used my climbing treestand to elevate the trail camera about 10 feet off the ground.

The cable lock helped to angle the elevated camera toward the ground. I may need to add a stick shim to angle it further.
Camera programming was very simple. I just entered the date and time and selected whether I wanted still photos or video (I selected still photos to start). I programmed the cameras at home, but double-checked them once I had them secured to the tree. I checked that the camera was actually taking photos by climbing down and walking in and out of camera range several times. If the number of images on the display ticked up, I knew it was good to go.
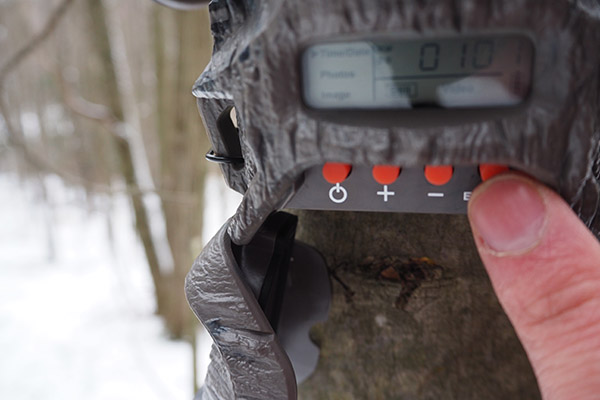
A view of the camera’s programming controls.
I hope you found this blog to be useful, even if you are not into deer hunting. Trail cameras are useful tools for discovering the animals that live on or pass through your woodlot. Check out MyWoodlot.com for additional resources about trail camera installation. If you’re located in the Catskills, Catskill Forest Association has a trail camera program where they will install two of their cameras on your woodlot for just $25.
Stay tuned for a follow-up blog that demonstrates how to download trail cam photos. Hopefully, I’ll have some good ones to share as well.
Part 2: Checking the Trail Cameras for the First Time
Part 3: Does a Bear Sit in the Woods?
Part 4: 5 Lessons I Learned About Trail Cameras